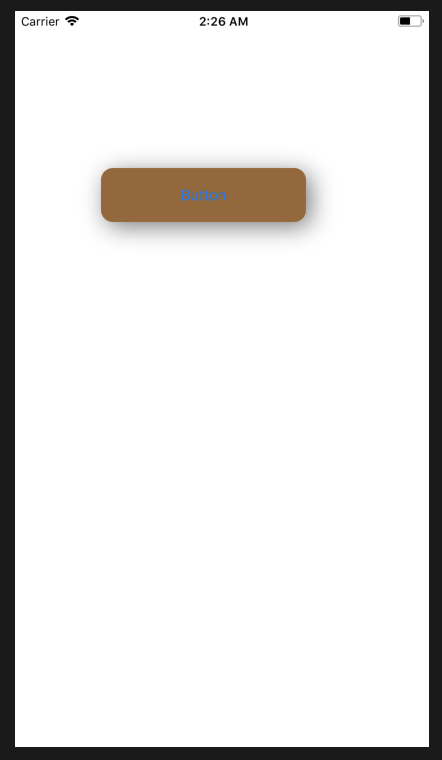
意外とハマる角丸影付きUIを作る方法をまとめた。
環境 Swift 4.0 Xcode 9.2
目次
こんな感じにしたい

実装
角丸だったり影付きだったりするUIは色々な場面で使いたいもの。 ググると色々なやり方が出てくるが、次のようにやるとサクッとうまくいくのでおすすめ。
import UIKit

class ViewController: UIViewController {

    @IBOutlet weak var roundButton: UIButton!

    override func viewDidLoad() {
        super.viewDidLoad()

        // 角丸設定
        self.roundButton.layer.cornerRadius = 12

        // 背景色
        self.roundButton.backgroundColor = UIColor.brown

        // 影の設定
        self.roundButton.layer.shadowOpacity = 0.5
        self.roundButton.layer.shadowRadius = 12
        self.roundButton.layer.shadowColor = UIColor.black.cgColor
        self.roundButton.layer.shadowOffset = CGSize(width: 5, height: 5)

    }

    override func didReceiveMemoryWarning() {
        super.didReceiveMemoryWarning()
        // Dispose of any resources that can be recreated.
    }


}
備考
Storyboardでプロパティは特にいじらない。
よく角丸の場合は clipsToBounds = true にしたり、影をつける場合はclipsToBounds = false にしたり、影専用のUIViewを別途用意したりなどの記事があるが、現バージョンのXcodeでは素直に実装するとうまくいく。
まとめ
角丸影付きUIを作りましょう!